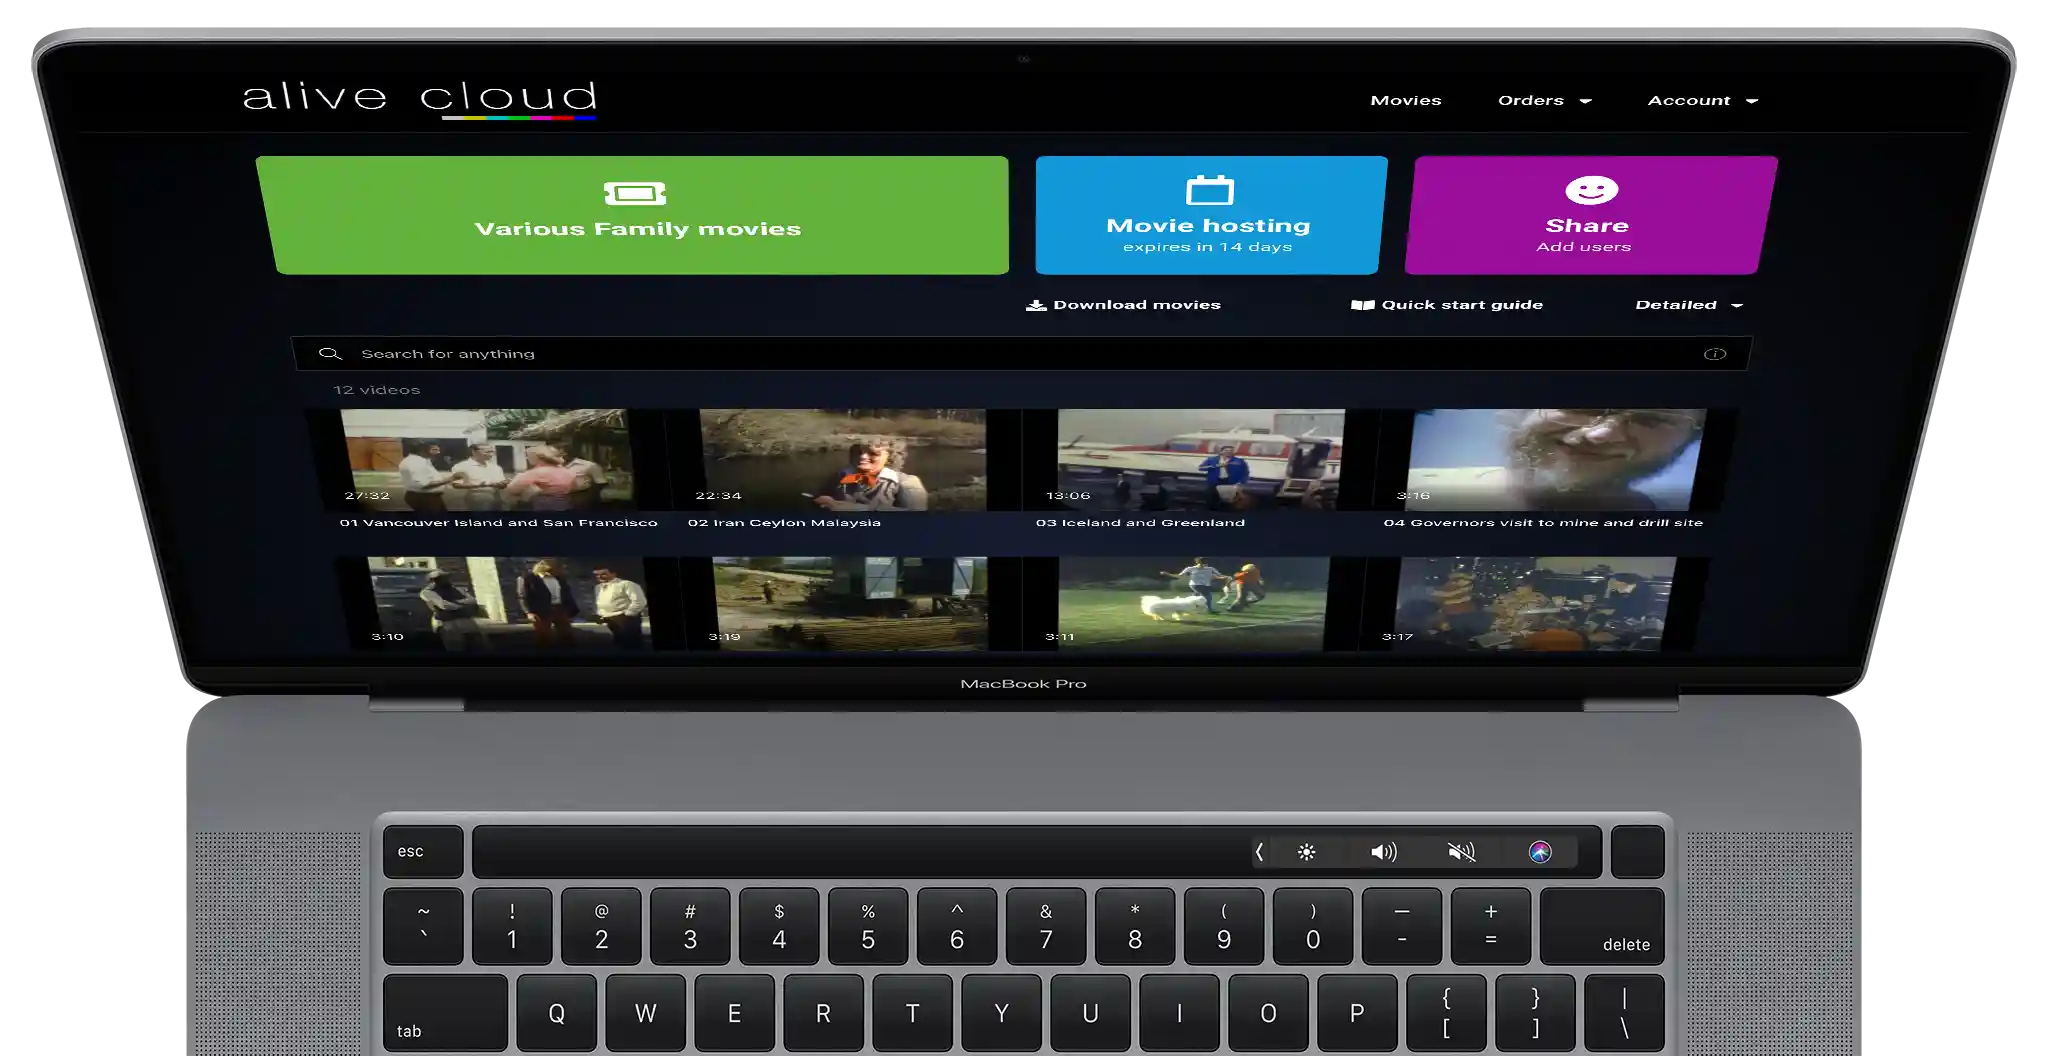
Need some help with your USB Stick?
How to Copy Video Files from a USB Stick to Your Computer or Another USB Stick
Whether you’re backing up your home movies or sharing them with family, it’s easy to copy your video files from one USB stick to your computer or directly to another USB stick. Here’s how:
On a Windows PC:
To copy files to your computer:
Insert the USB stick into a USB port on your computer.
It should appear as a drive in File Explorer, usually labeled something like “USB Drive” or the brand name.Open the USB stick by clicking on it.
Select the video files you want to copy.
You can click and drag to select multiple, or press Ctrl + A to select everything.Right-click and choose “Copy.”
Navigate to a folder on your computer (e.g., “Videos” or “Desktop”), right-click, and choose “Paste.”
To copy files to another USB stick:
Plug in the second USB stick—it will also appear in File Explorer.
After copying files (as above), right-click the second USB drive and choose “Paste.”
On a Mac:
To copy files to your Mac:
Insert the USB stick into a USB port or USB-C adapter.
It will appear on your desktop or in the Finder sidebar.Double-click the USB stick to open it.
Select the video files you want (hold Command ⌘ to select multiple).
Right-click and choose “Copy”, or press Command ⌘ + C.
Navigate to your chosen folder (like “Movies” or “Desktop”), then right-click and choose “Paste” or press Command ⌘ + V.
To copy files to another USB stick:
Plug in the second USB stick it will also appear in Finder or on the desktop.
After copying, open the second stick, then paste the files into it just like you would into a folder.
Tips & Notes:
Make sure your USB sticks are formatted in a compatible file system. If copying large files (over 4GB), use exFATinstead of FAT32.
Always eject USB sticks safely to avoid data corruption. On Windows, right-click the drive and select Eject. On Mac, drag the USB stick icon to the Trash or click the Eject button in Finder.
Still need help? Just get in touch we’re always happy to guide you through it.
How to Use a USB Stick with Your TV to Watch MP4 Videos
You can watch your videos directly from our USB stick on most modern TVs that support USB playback. Here’s how:
1. Plug the USB Stick into Your TV
Look for a USB port on your TV it’s usually found on the side or back panel and may be labeled “USB” or “USB 1/2.” Gently plug in the USB stick.
⚠️ Some TVs have multiple USB ports. If one doesn’t respond, try another.
2. Select the USB Input
Once connected, your TV may automatically detect the USB stick and prompt you to open the media player. If it doesn’t:
Use your TV remote to open the Source/Input menu.
Select USB or Media Player from the list.
3. Browse and Play Your MP4 Videos
Once inside the TV’s media browser:
Use the remote to navigate the folders on the USB stick.
Select any video and press play.
Most TVs will support standard MP4 video files without any extra setup. If a video doesn’t play, it may be due to the TV not supporting that particular resolution or encoding format. Most of the time, though, our videos are fully compatible out of the box.
How to Cast Videos from Your Phone or Tablet to Your TV
If your videos are saved directly on your iPhone, iPad, or Android device (see taps above to find out how to do this) you can easily cast them to a compatible smart TV for a bigger and more enjoyable viewing experience. Here’s how:
For Android Devices (Using Chromecast or a Chromecast-enabled TV):
Make sure your phone and TV are on the same Wi-Fi network.
Your device and TV must be connected to the same network for casting to work.Open the video you want to cast.
Use the Files app, Google Photos, VLC Player, or any app that supports casting.Tap the Cast icon.
Look for the 📺 Cast icon, usually found at the top of the screen. Tap it and select your TV from the list.Your video will now play on the TV.
You can control playback (pause, rewind, volume) directly from your phone.
For iPhone or iPad (Using AirPlay or a Smart TV with AirPlay Support):
Connect your iOS device and TV to the same Wi-Fi network.
Open the video file.
Use the Photos app, Files app, or a video player app that supports AirPlay.Tap the AirPlay icon.
It looks like a screen with a triangle at the bottom. Tap it and choose your AirPlay-compatible TV (like an Apple TV or supported Smart TV).The video will begin playing on your TV.
You can use your iPhone or iPad to control playback.
Tips:
Make sure your TV is turned on and ready to receive a cast or AirPlay connection.
If you don’t see your TV listed, double-check that both devices are on the same Wi-Fi network.
Still need help? Contact us anytime and we’ll be happy to walk you through it.
How to Use Your USB-C USB Stick with Your iPhone or iPad
Your USB stick comes with a USB-C connector, which works seamlessly with the latest Apple devices. Here’s how to use it with your iPhone or iPad to watch or transfer your videos:
1. Plug in the USB-C Stick
If you have an iPhone 15 or newer, or a USB-C iPad (such as iPad Pro, iPad Air 4th gen or later, or iPad 10th gen), you can plug the stick straight into your device—no adapter needed.
For older iPhones with a Lightning port, you’ll need a USB-C to Lightning adapter or Apple’s Lightning to USB 3 Camera Adapter to connect the stick.
2. Play Videos Directly from the USB Stick
Once connected, open the Files app and tap Browse. You’ll see your USB stick listed usually as “Untitled” or under the brand name. Just tap any MP4 video to watch it instantly, directly from the stick.
3. Copy Videos to Your Device (Optional)
To save videos onto your iPhone or iPad for easy access:
In the Files app, open the USB stick.
Tap and hold a video, then choose Copy.
Navigate to On My iPhone or On My iPad, open or create a folder, then tap and hold again and select Paste.
The video will now be stored on your device, ready to view anytime—even without the USB stick connected.
Troubleshooting Tips
Make sure your device is updated to the latest iOS or iPadOS version.
If the USB stick doesn’t appear, unplug and reconnect it, or restart your device.
On iPhones with Lightning ports, ensure you’re using a supported adapter.
Need help? We’re always here just drop us a message and we’ll guide you through it.
How to Use Your USB Stick with Your Android Device
Your USB stick comes with a USB-C connector, which works seamlessly with Android devices. Here’s how to use it with your Phone or Tablet to watch or transfer your videos:
1. Plug in the USB Stick
Most modern Android phones and tablets with a USB-C port will detect the USB stick automatically once it’s plugged in. You may see a notification pop up that says “USB drive connected” or “Explore.”
2. Watch Your Videos Directly from the USB Stick
Tap the notification, or open your device’s “Files” or “My Files” app. Navigate to the USB drive (sometimes called “USB storage” or “External storage”). You can then tap on any MP4 video to play it directly from the stick no need to copy it first.
3. Copy Videos to Your Phone or Tablet (Optional)
If you’d like to keep the videos on your device for offline access or easy sharing:
Open the Files app and browse to the USB stick.
Select the videos you want to copy (usually by holding your finger on one until selection mode starts).
Tap the copy or move option (often shown as two pieces of paper or a folder icon).
Choose a location on your phone or tablet, such as “Downloads” or a new folder you’ve created.
The files will begin transferring. Once done, you can unplug the USB stick.
Troubleshooting Tips
If nothing happens when you plug in the USB stick, make sure your phone or tablet supports USB OTG (most newer Android devices do).
You may need to give permission to access the USB stick the first time you connect it.
If you’re having trouble finding the files, download a free file manager app like Files by Google from the Play Store.
Still stuck? We’re here to help. Just get in touch and we’ll guide you through it.